日期:2017年 05月 04日
標籤: C# Asp.NET Framework MVC Web SignalR Chat Room
摘要:ASP.Net MVC 學習筆記
情境:當使用者在進行連線的時候,可以即時推播資訊給當前連線者資訊。EX:機器人響應、聊天室、即時偵測事件、手機訊息推送。
目的:本篇介紹基於SignalR 的網站聊天室
本篇分為2部分
| 標題 | 主題 |
|---|---|
| 第一部分 | 一、建立網站 - 設定SignalR套件 |
| 第二部分 | 二、發行到Azure 進行聊天室的試用 |
一、建立網站 - 設定SignalR套件
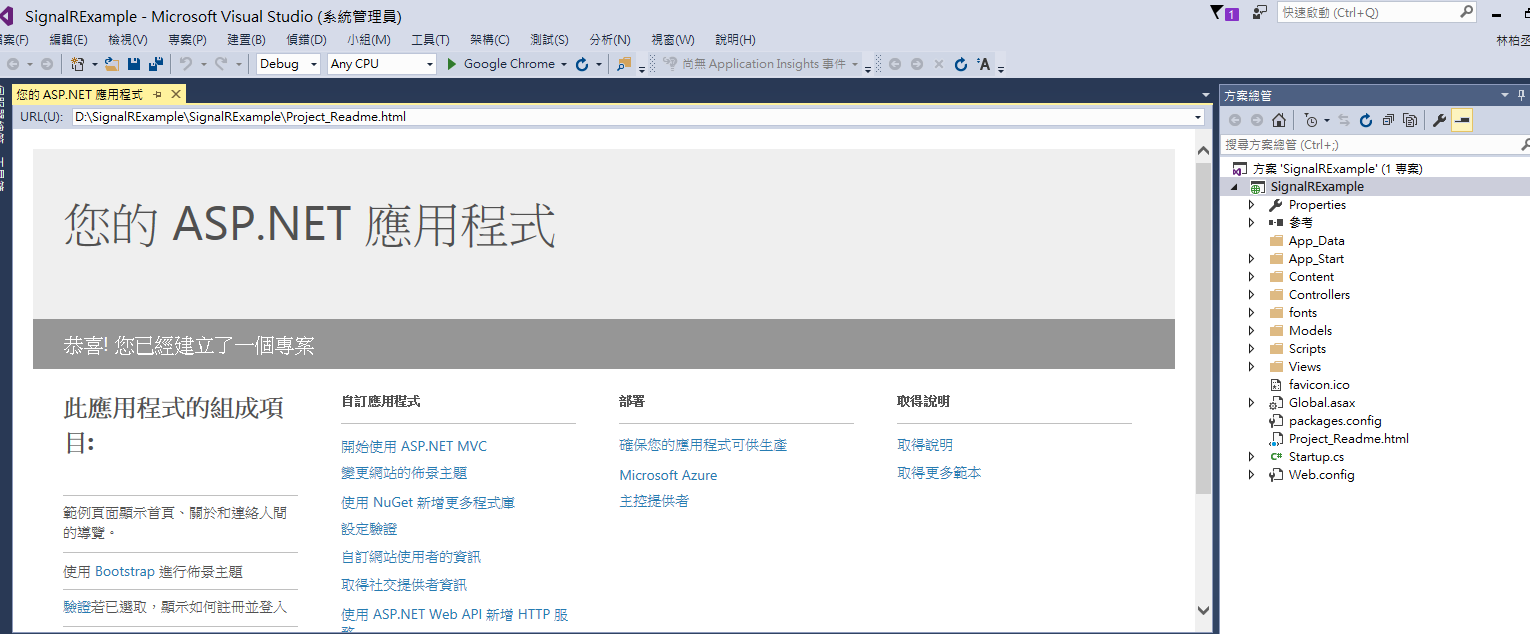
STEP 1: 建立一個空的MVC網站
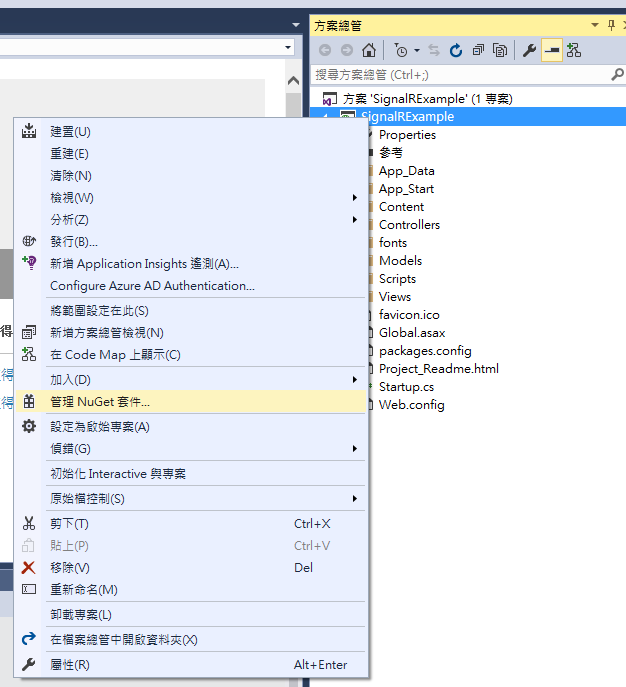
STEP 2: 對專案滑鼠右鍵 -> 選擇 管理Nuget
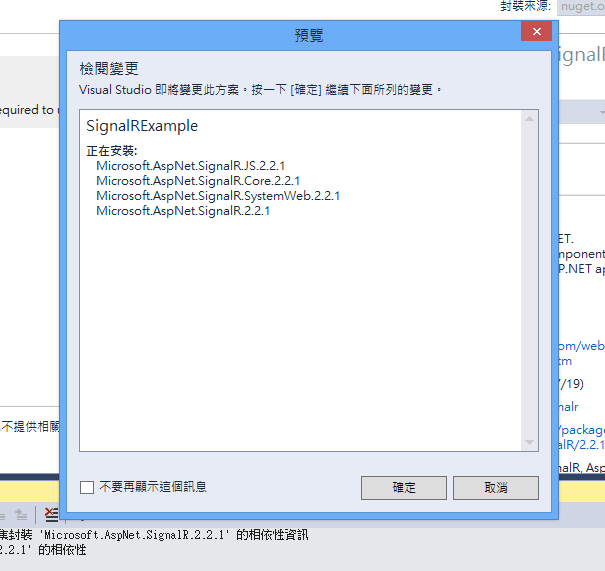
STEP 3: 搜尋 -> signalr -> 安裝 Microsoft.AspNet.SignalR

STEP 4: 一共會安裝4個項目
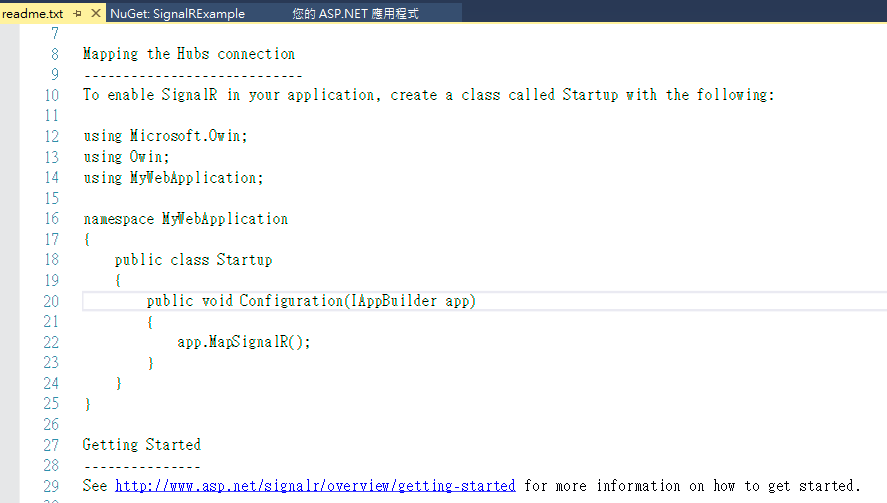
STEP 5: 安裝完成後會提供一個基本的說明文件 ※這邊忽略,直接用以下步驟的程式碼
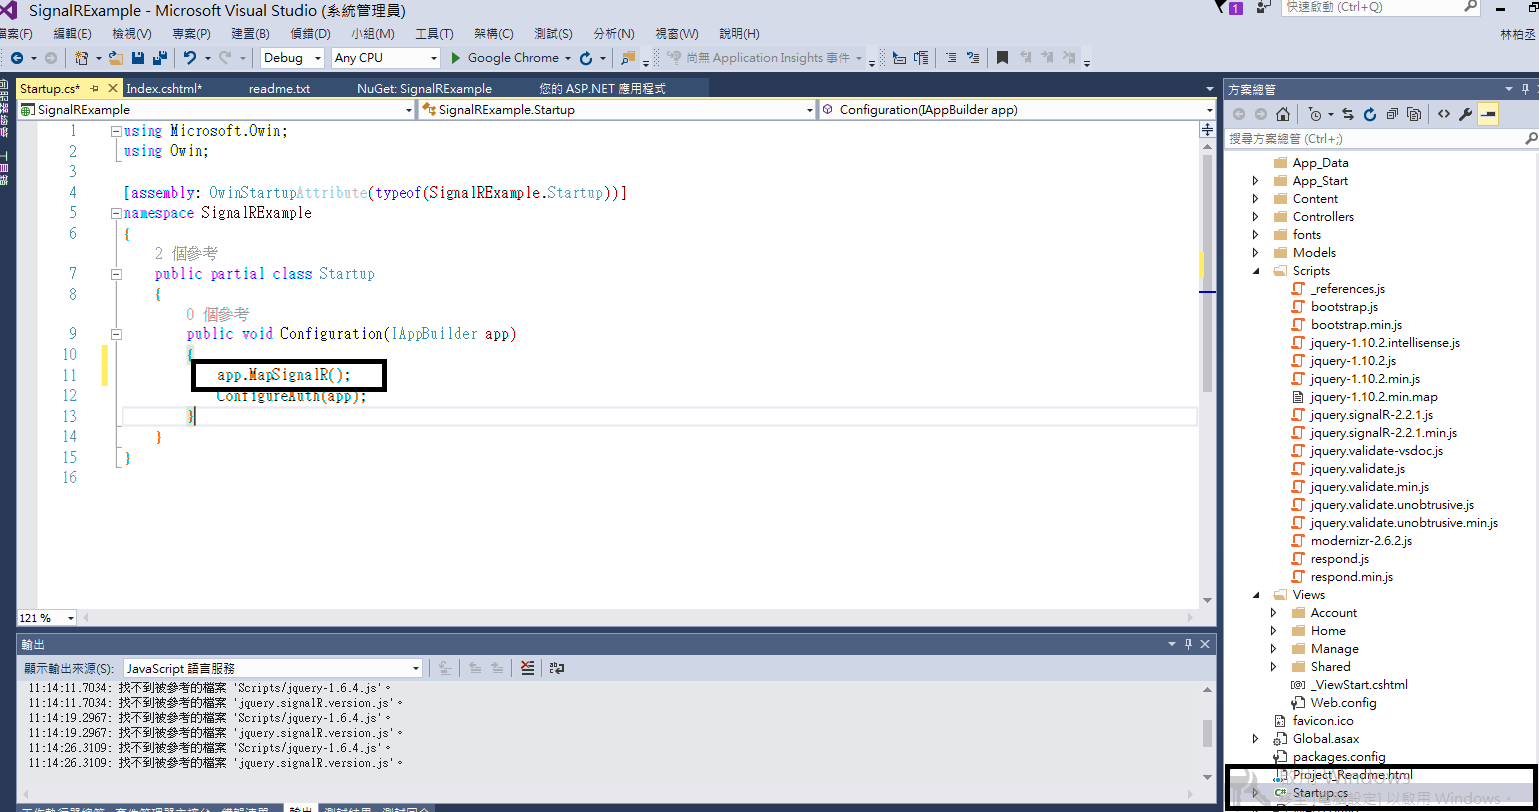
STEP 6: 對專案底下的 Startup.cs 增加以下程式碼
app.MapSignalR();
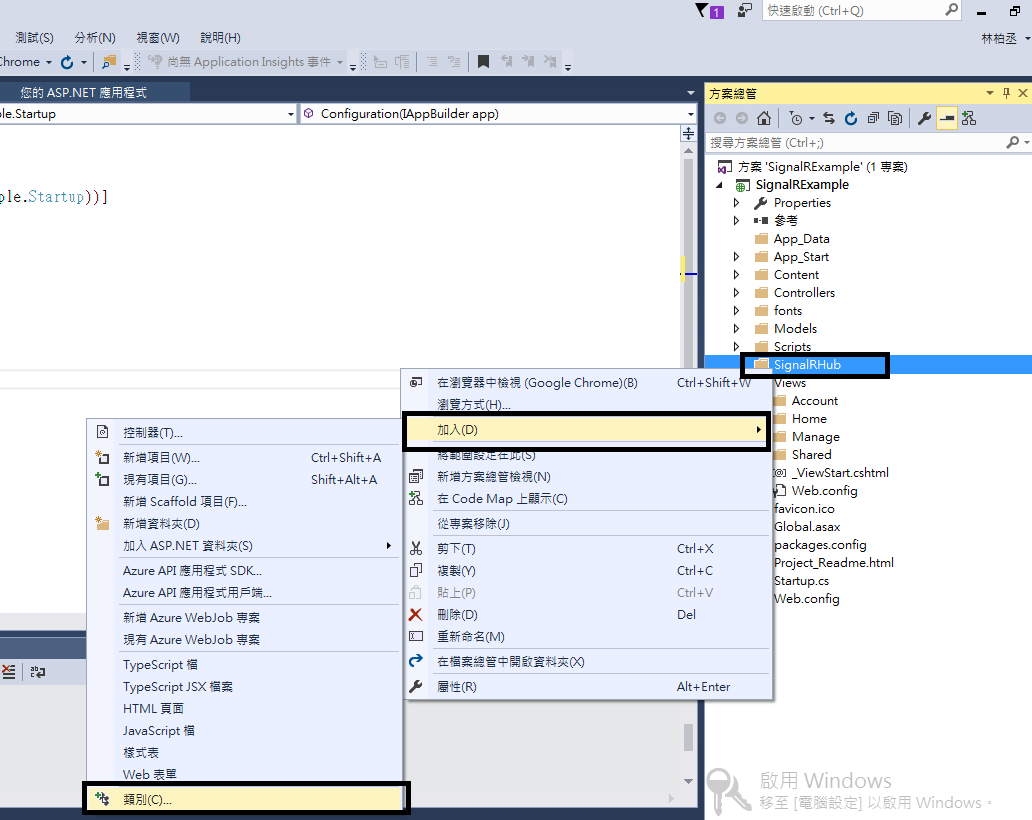
STEP 7: 建立一個資料夾SignalrHub ※可自行命名 -> 加入 -> 類別 -> 新增 SignalrHub.cs
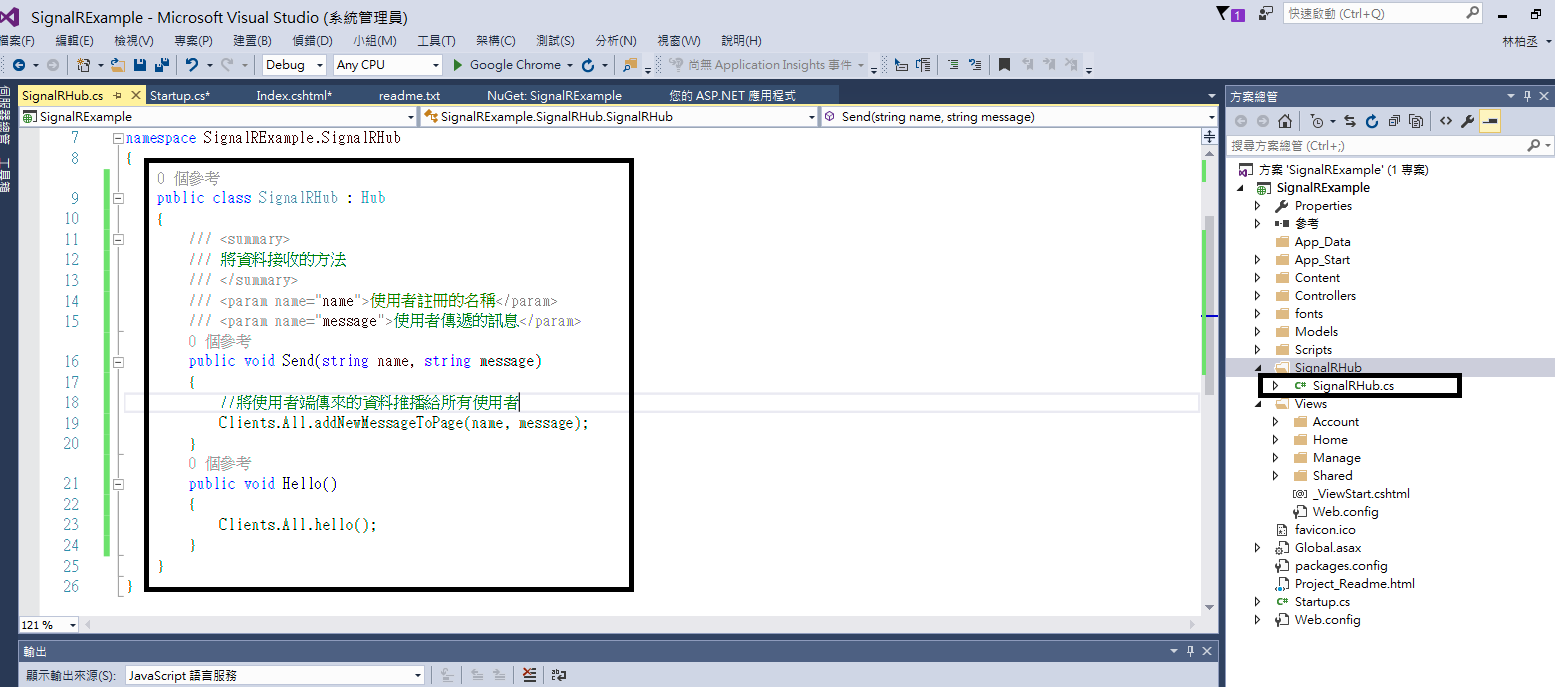
STEP 8: 加入以下程式碼(這是完整的),請加入如圖所示的部分,這邊繼承Hub
using Microsoft.AspNet.SignalR;
using System;
using System.Collections.Generic;
using System.Linq;
using System.Web;

namespace SignalRExample.SignalRHub
{
    public class SignalRHub : Hub
    {
        /// <summary>
        /// 將資料接收的方法
        /// </summary>
        /// <param name="name">使用者註冊的名稱</param>
        /// <param name="message">使用者傳遞的訊息</param>
        public void Send(string name, string message)
        {
            //將使用者端傳來的資料推播給所有使用者
            Clients.All.addNewMessageToPage(name, message);
        }
        public void Hello()
        {
            Clients.All.hello();
        }
    }
}
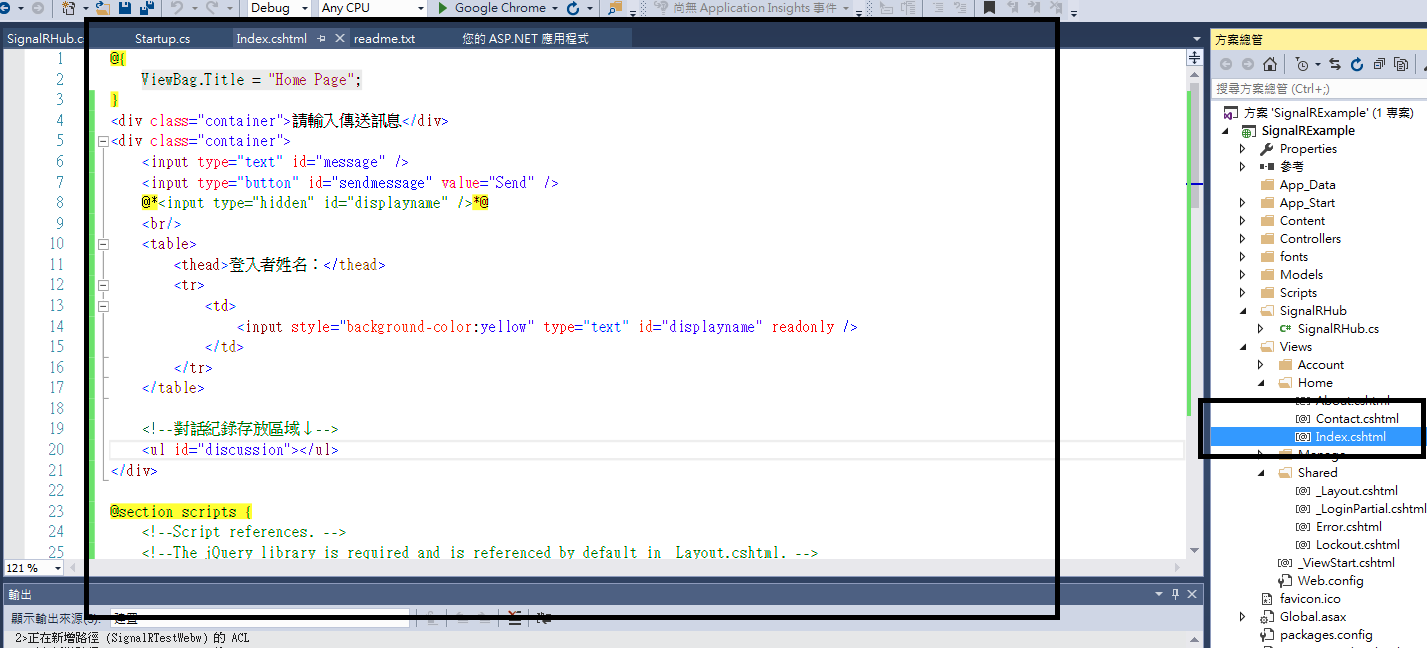
STEP 9: 我們要建立基本的聊天室網站,所以我們將Views\Home\Index.cshtml 的資料調整,以下是程式碼與說明註解
@{
    ViewBag.Title = "Home Page";
}
<div class="container">請輸入傳送訊息</div>
<div class="container">
    <input type="text" id="message" />
    <input type="button" id="sendmessage" value="Send" />
    @*<input type="hidden" id="displayname" />*@
    <br/>
    <table>
        <thead>登入者姓名:</thead>
        <tr>
            <td>
                <input style="background-color:yellow" type="text" id="displayname" readonly />
            </td>
        </tr>
    </table>

    <!--對話紀錄存放區域↓-->
    <ul id="discussion"></ul>
</div>

@section scripts {
    <!--Script references. -->
    <!--The jQuery library is required and is referenced by default in _Layout.cshtml. -->
    <!--Reference the SignalR library. -->
    <script src="~/Scripts/jquery.signalR-2.2.1.js"></script>

    <!--Reference the autogenerated SignalR hub script. -->
    <script src="~/signalr/hubs"></script>
    <!--SignalR script to update the chat page and send messages.-->
    <script>
        $(function () {
            // 建立SignalR的變數連結
            var chat = $.connection.signalRHub;

            // 註冊該方法 將會由Server傳遞過來
            chat.client.addNewMessageToPage = function (name, message) {
                // Add the message to the page. 當有資料推播過來時將其寫進discussion 中
                $('#discussion').append('<li><strong>' + htmlEncode(name)
                    + '</strong>: ' + htmlEncode(message) + '</li>');
            };
            // 登入時讓使用者輸入自己的名字
            $('#displayname').val(prompt('Enter your name:', ''));
            // 讓焦點放在該訊息框框上
            $('#message').focus();
            // 啟動SignalR 連結
            $.connection.hub.start().done(function () {
                //當連結建立完成後 有使用者對sendmessage Button Click時
                $('#sendmessage').click(function () {
                    // 傳遞資料給Server Send事件 將 (名字 , 訊息) 傳遞
                    chat.server.send($('#displayname').val(), $('#message').val());
                    // 清除輸入視窗的資料,並將焦點放在該位置上
                    $('#message').val('').focus();
                });
            });
        });
        // This optional function html-encodes messages for display in the page.
        function htmlEncode(value) {
            var encodedValue = $('<div />').text(value).html();
            return encodedValue;
        }
    </script>
}
STEP 10: 這邊再補充,我們類別雖然用大寫但在真實的Signalr client的呼叫方法是為小寫
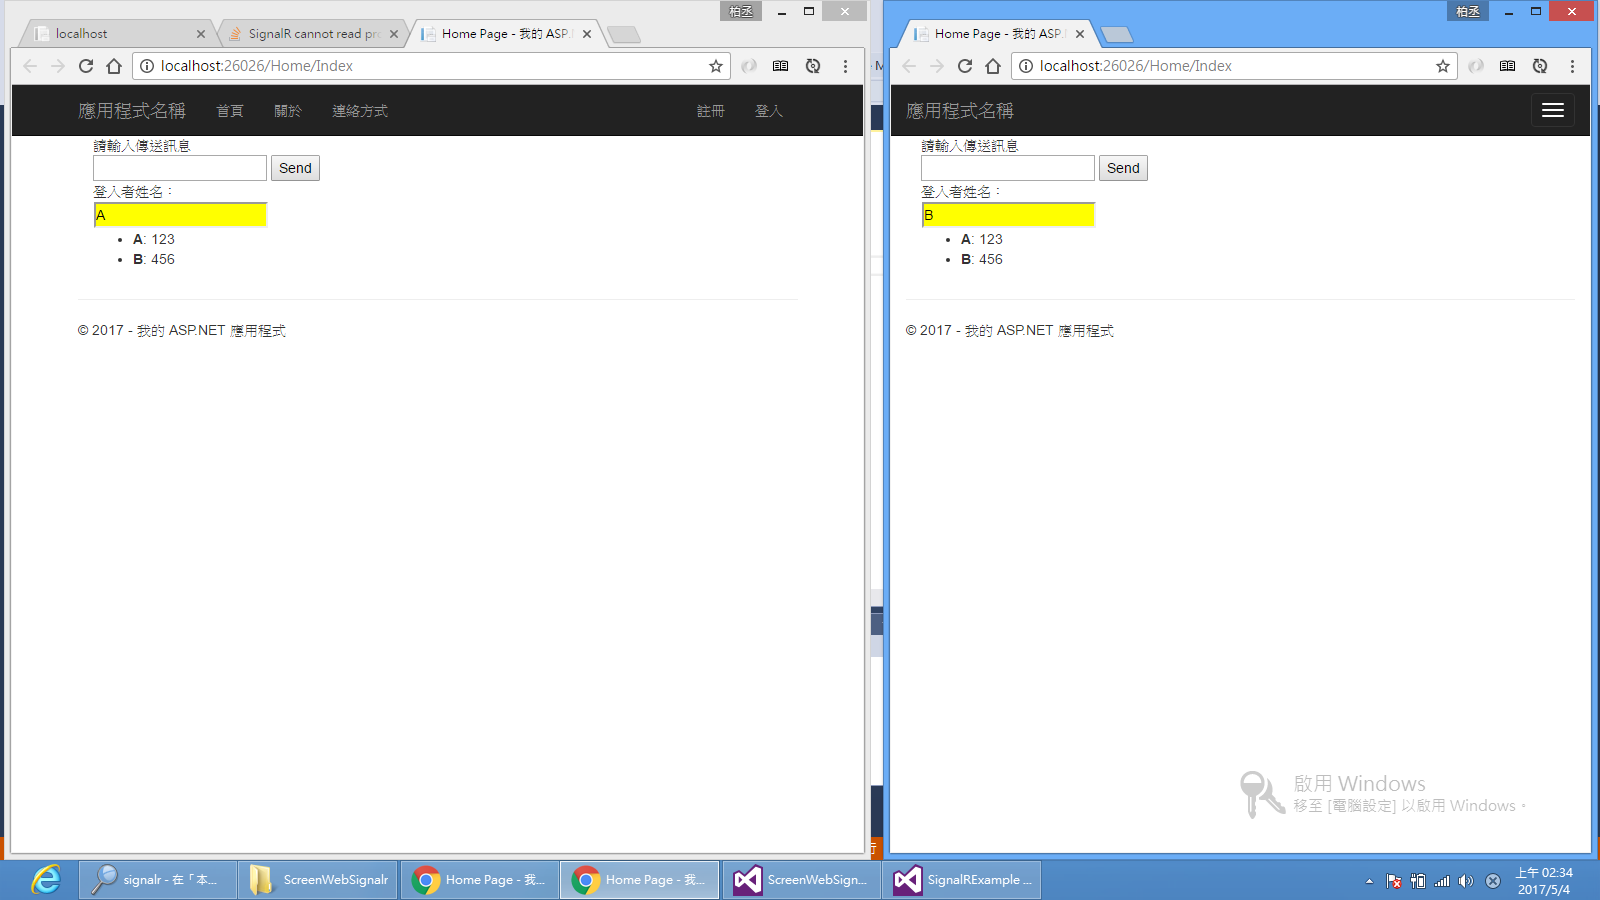
STEP 11: 可以執行該專案檔案,並且開啟兩個頁面,我們再輸入名字後,傳送訊息 123
目前有連線這個頁面的人都可以接收到推播訊息,如下所示
二、發行到Azure 進行聊天室的試用
STEP 1:發行到Azure上Server上,比較符合現實聊天室所需,畢竟不會在同個電腦下進行聊天的行為

STEP 2:發行完成後,只要連線到這個網址頁面都可以進行即時聊天
